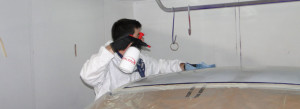
By nature, bumpers are designed to protect a vehicle, so it is the most common part of the car to be repaired. In fact, all statistics prove that. However, we see many mistakes done during the process of the preparation of the bumper for the paint job. Below I present 4 easy, but very important steps to have smooth and high quality repair job on a plastic bumper.
- Clean, clean and clean
Whether it is an old bumper or a new unpainted spare bumper from OEM, meticulous cleaning is necessary. Old bumper may contain all sorts of contaminations, including dust, dirt, oils and polishing compounds. New part may have remains of the molding waxes and dust. Do not skip this important step. The best way is to apply the cleaner/degreaser by special pressure sprayer and to use two wipes. Use the first wipe to lift the dirt from the surface and second wipe to dry out the surface thoroughly.
- Scuff properly all the surface of the bumper
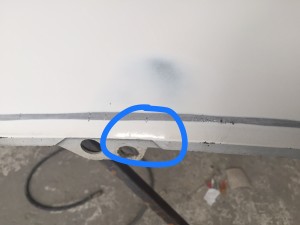
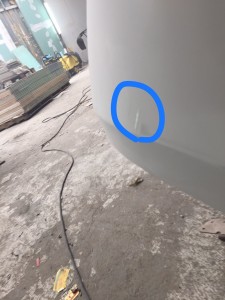
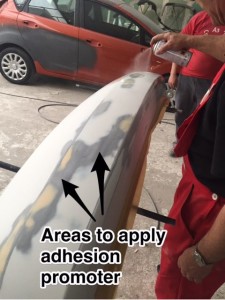
Probably you have seen many times vehicles with paint pilled off. One of the reasons is that old paint on the bumper was not properly sanded to create appropriate surface for the new coating’s adhesion. On the below pictures you could see some spots where old paint was poorly scuffed. Use nonwoven sanding pad, soft abrasive pad or sand with random orbital sander with a soft intermediate pad for better results. Inspect carefully the surface for untreated spots.
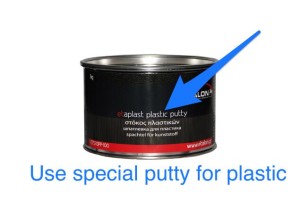
- Use special putty/filler for the plastic parts
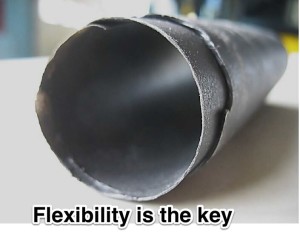
We have to keep in mind that the materials common bumpers are made of nowadays have been changed from metal and rigid plastics to softer thermoplastics. Consequently, new types of bumpers are subject to shrinkage and expansion much more than the previously used materials. Normal polyester filler is simply not flexible enough. Make sure that you use a polyester filler, which can pass the “tube test”. This is a very easy test you can perform in your bodyshop. Apply a thick layer (up to 1mm), 10cm wide and 20cm long from a plastic putty on backside of waterproof sanding paper sheet. Let it dry for about 10 minutes. Hand sand it as per manufacturer’s instructions or with grit P180. Then, try to roll the dried film of the putty in a tube (see the picture below). If it cracks, then it is not flexible enough. Unfortunately, there are many polyester putties on the market, which have no difference with the common putties, but the colour (usually black or dark grey).
- Always use plastic adhesion promoter
We have noticed that even some of experienced painters avoid using plastic primer/sealer prior application of filling primer and paint. However, skipping this important step is yet another reason why we see so many cars with pilled off paint on the roads. Spray a light coat of the plastic primer on the spots with unpainted or exposed plastic. In case of a new unprimed bumper, spray the whole surface. Usually adhesion promoter is transparent, available for spray gun or in aerosol can. For example, Etalon plastic primer includes also light metallic particles so that it would be visible where the primer was already applied. Wait for about 15 minutes prior applying filling primer.
Have also a look on our previous article: “Why metallic colours look different on car’s metal and plastic parts like bumpers and spoilers?”


